
For a lot of reasons, I've been exercising the DIY part of my brain lately. I've always liked to do 'stuff' myself. My father did a lot of his own work around the house-- I distinctly remember helping him tile the entry way in our house. He did a lot of his own electrical work too, and taught me how to wire switches and fixtures. Doing it yourself is gratifying, cheaper, and often faster than calling a professional.
Add to that a ton of years watching DIY shows like Design On A Dime, reading blogs on design and now, browsing on Pinterest. It's a slippery slope.
Below are photos of my new dining room. Same house as before, but the dining room was a small space near the kitchen. Convenient, but too small. We removed the leaves from the DR table to fit it in the space, which meant we needed to put the leaves back in to use it. Big PITA.
So when I finished the new desk (future blog post-- the wonder of homemade chalk paint), it went into the small dining room, and became the centerpiece of the new study. The dining room furniture went into the large living room, which became the new dining room. The chair/ottoman from the living room went into the study, the sofa was sold, and I bought a beautiful credenza for the dining room from Craigslist. Keeping up?
 |
| From a few yards back, no flash- this is the true wall color, but the photo came out very dull |
 |
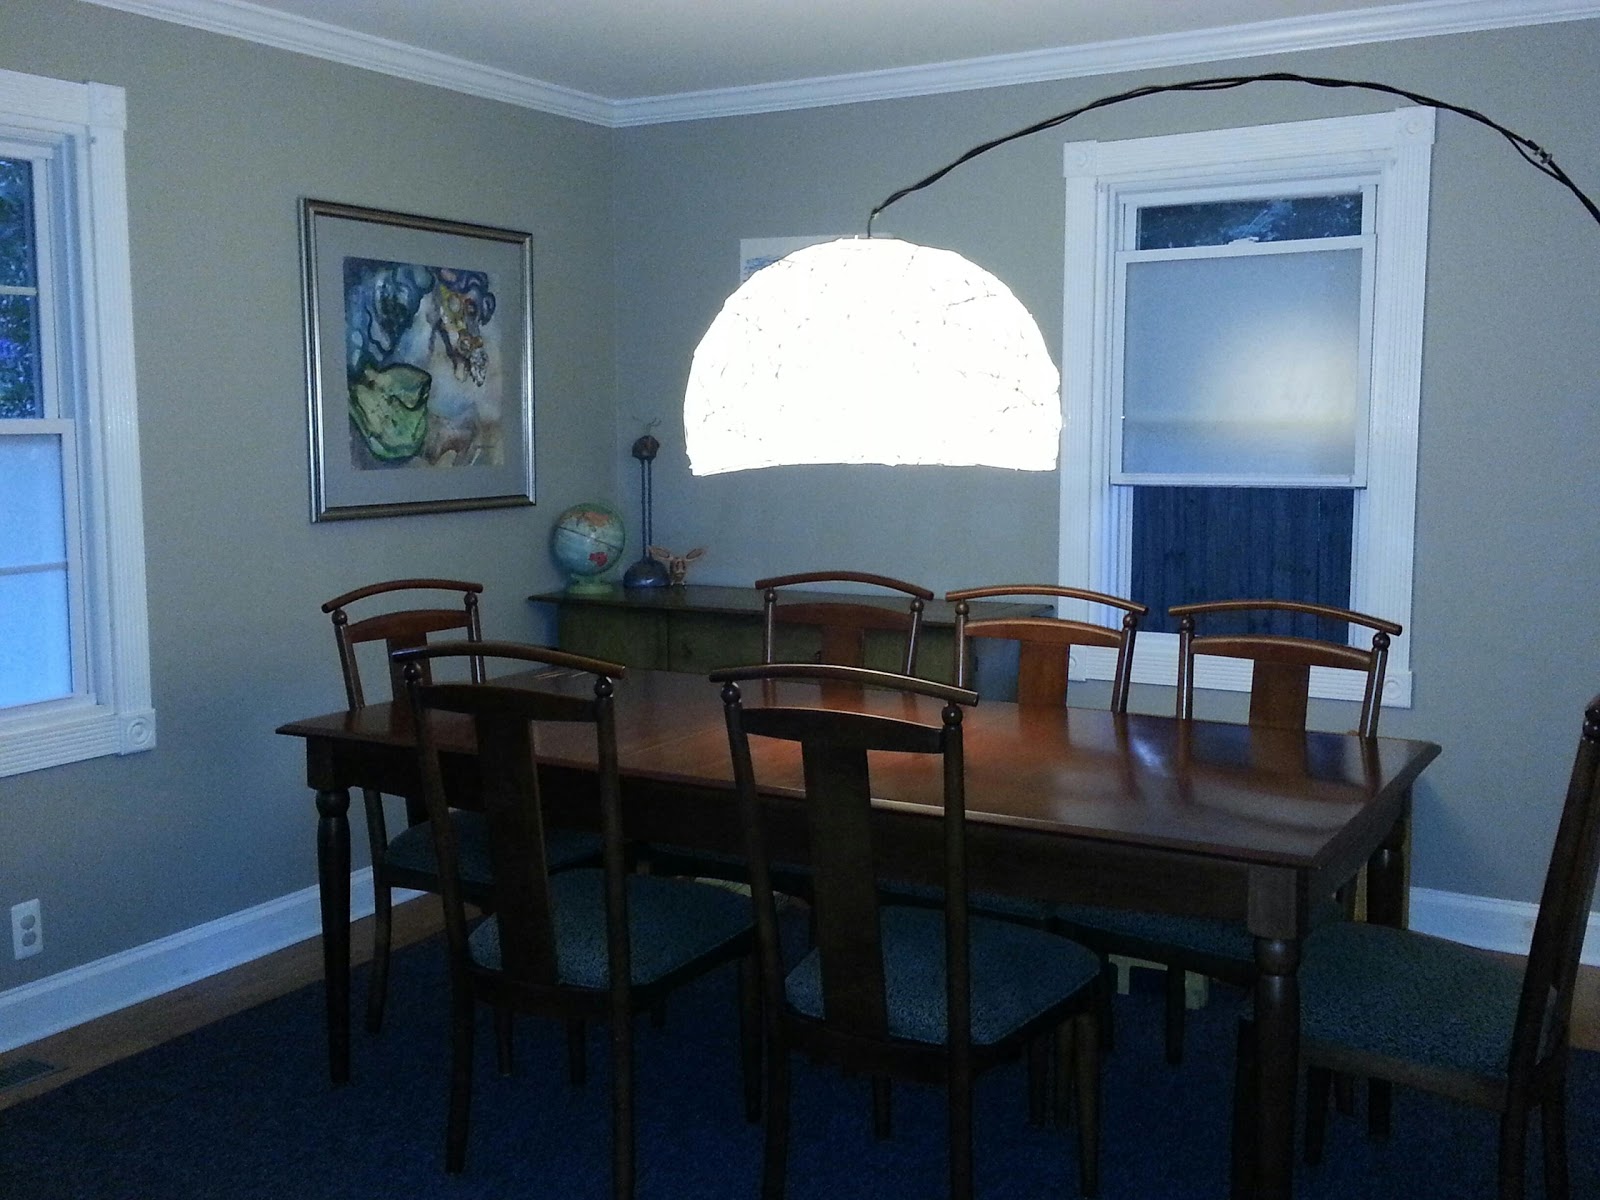
| With flash- the wall color is grey, not green, but this photo has more depth and life |
So the images above are clearly of the new dining room. The lamp is the DIY project in question... when you take a room not designed to be a dining room (and with poor lighting in general) and make it a dining room, you are unlikely to have the electrics in place to hang a fixture over the table. Ikea makes this great cantilevered lamp, which we ended up getting from Freecycle. Mr. Unwired had to do a bit of engineering to replace a broken piece, which he did and it's awesome. My job was to repair and jazz up the lampshade, which was torn and boring. Which is the rest of this post.
 |
| The lamp |
 |
| The view from a dining room chair |
What you're seeing is a generic, boring rice paper lamp shade, wearing the Sunday comics. Pinterest didn't warn me about the nuances of this project, so I'll share what I learned.
First, cut your paper into strips. I used one Washington Post Sunday comics section (4 pages, 8 sides), sliced up by a shredder. Consider cutting them about 1/2" to 3/4" wide, not 1/4 inch like mine. Wider will give you more coverage and be way easier to work with.
Next, hang your lamp shade over a work surface, in arms reach.
After that, prepare glue in a shallow bowl. I used regular white glue, diluted 50% with water. Dip the paper into the glue, then run it through your fingers to strip the extra glue back into the bowl. You want the paper to be wet, but not soggy.
Lay each strip, one by one onto the paper lampshade. This is where the advice 'use paper 1/2" to 3/4" comes from.' With the shredded comics, this took upwards of two hours, executed in 30 minute intervals. It's a very zen project as my hands were covered in glue so I couldn't play with my phone or do anything other than paper mache the lampshade.... And I am a bit obsessive, so the focus of this project was nice. But two hours seems excessive in the long run. Your mileage may vary.
I love the scale of the lamp in the room, and the light it gives is perfect. It's nicely filtered nicely through the paper shade and the comics, and it makes me smile every time I pass by. While I did this project to hide the tears in the lampshade (which it did perfectly), it ended up beatifying the space and making the large room more intimate. Time to invite folks for dinner!
No comments:
Post a Comment